

This feature isn’t available on every plan; if yours doesn’t include it, you’ll be prompted to upgrade.
Set up audience authentication
1
Open Participant access
In the presentation editor, click the Settings icon in the right-hand toolbar, open the Participant access tab, then select Participants must enter passcode to join.
2
Set the number of participants
Enter the number of participants your presentation will have. If you don’t know the exact number, it’s better to overestimate so you’ll have enough codes to give out.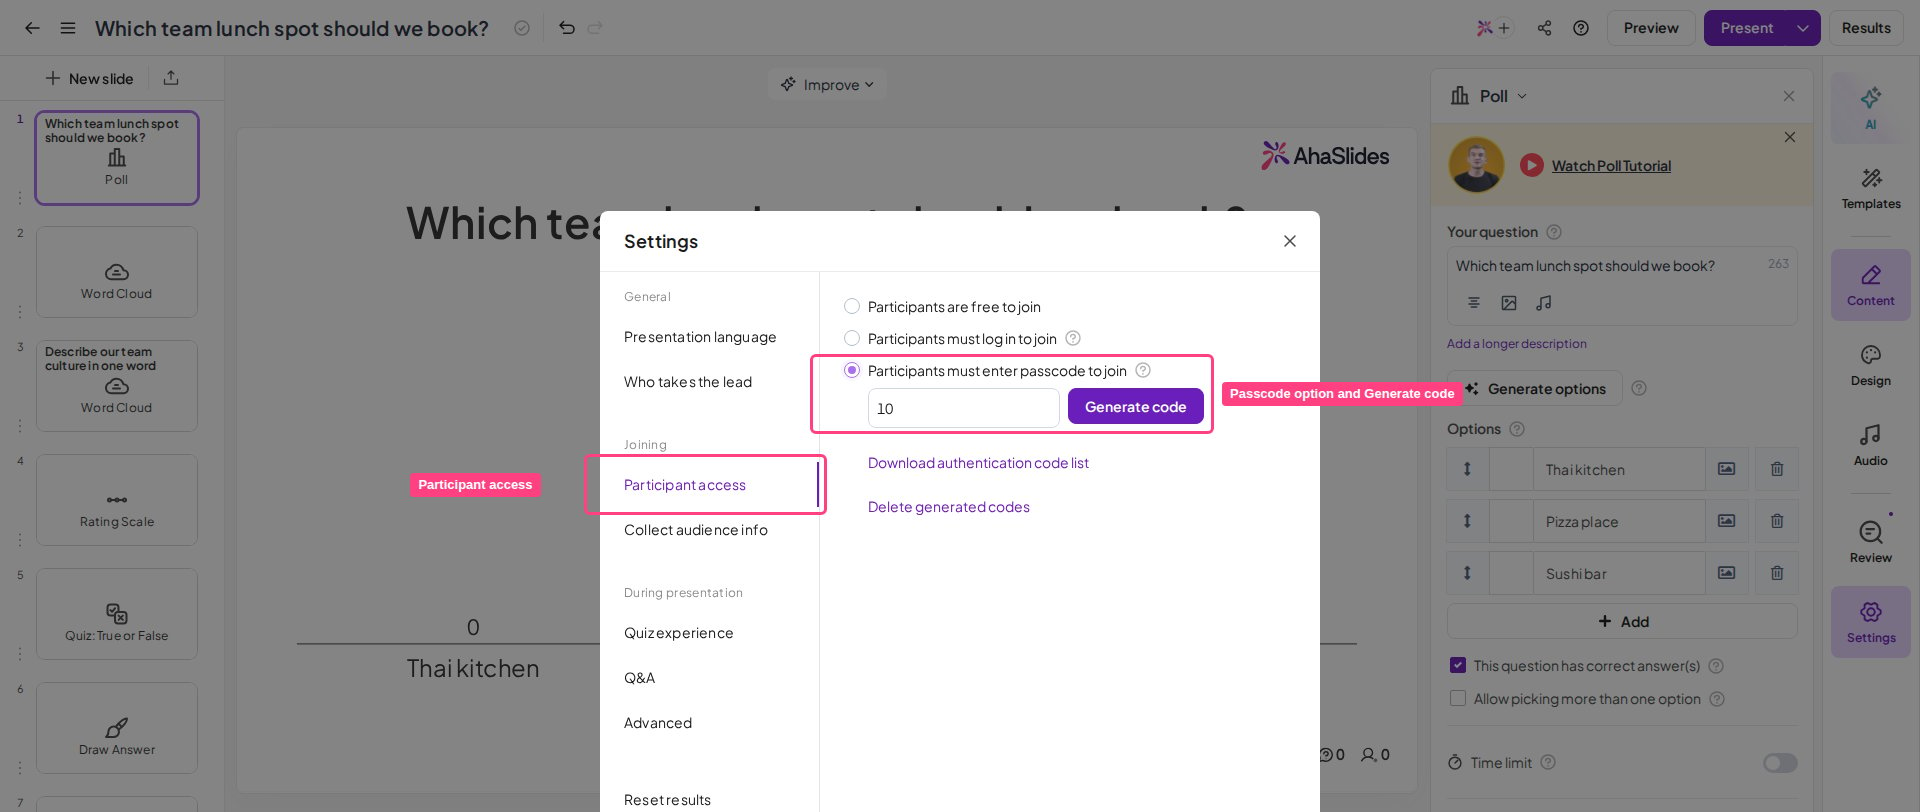
3
Generate codes
Click the Generate code button. This downloads an Excel sheet showing all of your presentation’s authentication codes.
Each authentication code can only be used by one participant.
Turning audience authentication off
To let participants join without a passcode again, open the Participant access tab in Settings and select Participants are free to join.Re-downloading your code list
If you need to download your code list again, open the Participant access tab in Settings and click Download authentication code list. This gives you another copy of the code list containing all of your presentation’s active codes (which remain active until you either reset or delete them).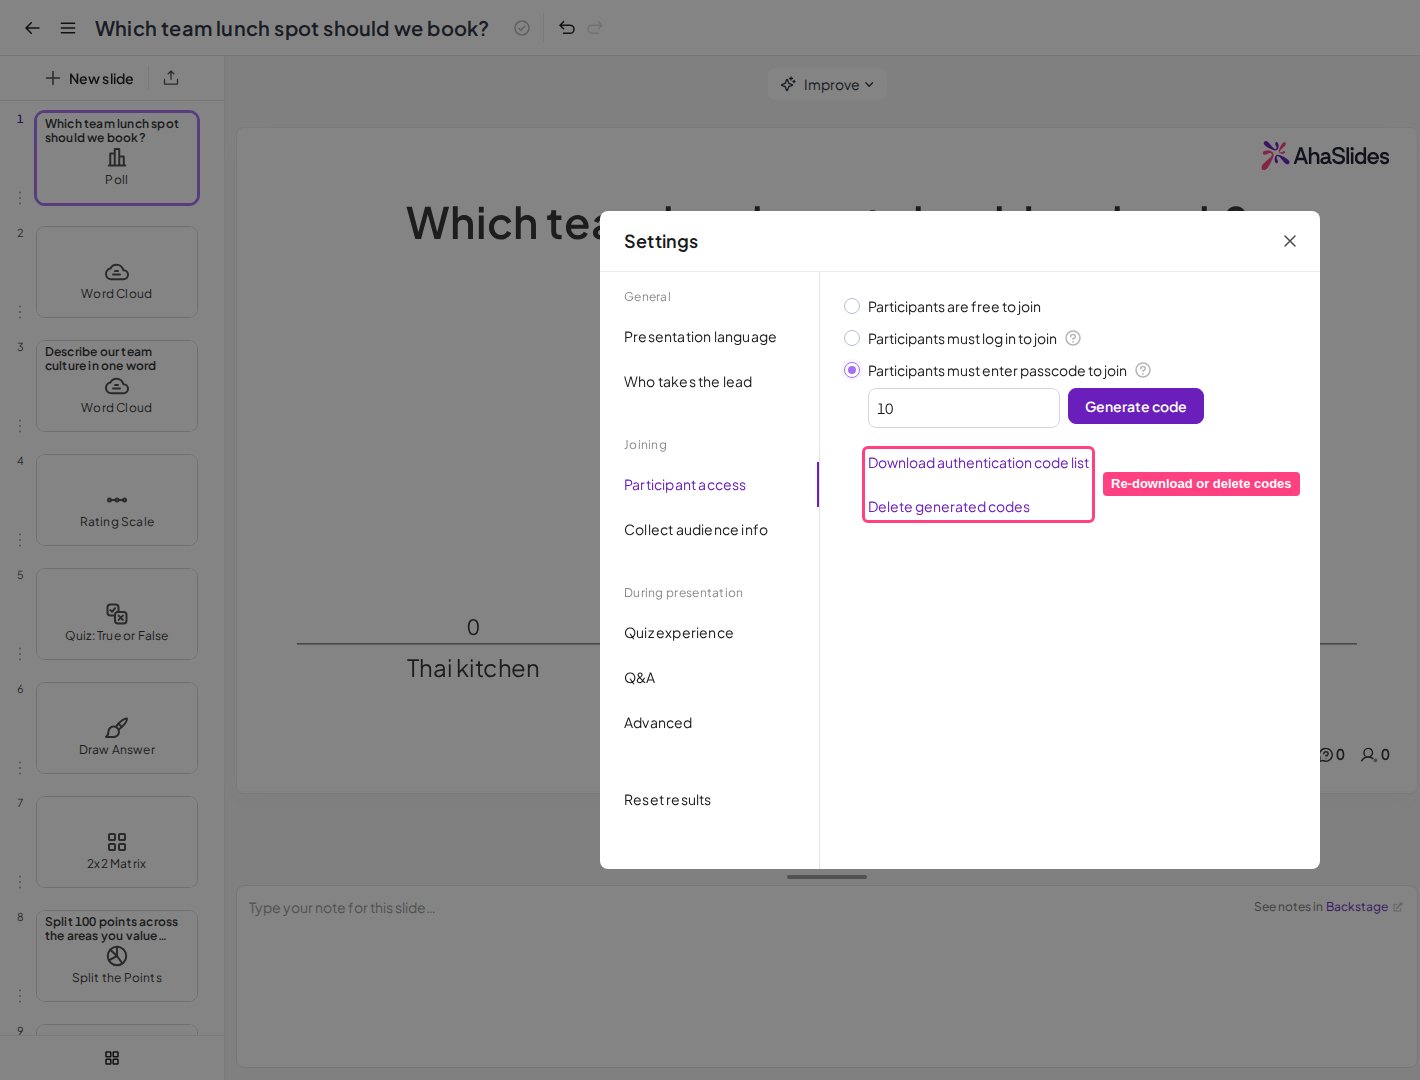
Resetting or deleting your codes
You can also reset or delete your codes in the Participant access tab:- Reset your code list by entering a new number of participants into the box and pressing Generate code again.
- Delete your code list by clicking the Delete generated codes option.