

This integration is for institutions on an AhaSlides Enterprise agreement. Setup involves your Blackboard administrator and the AhaSlides team working together. If you’d like to enable it for your institution, contact your AhaSlides representative.
What you get
- One-click launch — students and instructors open AhaSlides from inside the course, with no separate sign-in.
- Presentation picker — instructors browse their own AhaSlides presentations and attach one to a course activity.
- Automatic grading — quiz scores are sent back into the Blackboard gradebook after the session.
- Roster matching — participants are matched to the right students automatically using their email address.
Before you start
- Your Blackboard instance must support LTI 1.3 and Assignment and Grade Services (AGS) — Blackboard Learn Ultra, or Learn 9.1 (Q2 2019 or later).
- You need Blackboard administrator access to register an external tool at the institution level.
- Each instructor and student needs an AhaSlides account provisioned by your institution (via SCIM). Accounts are matched by email address.
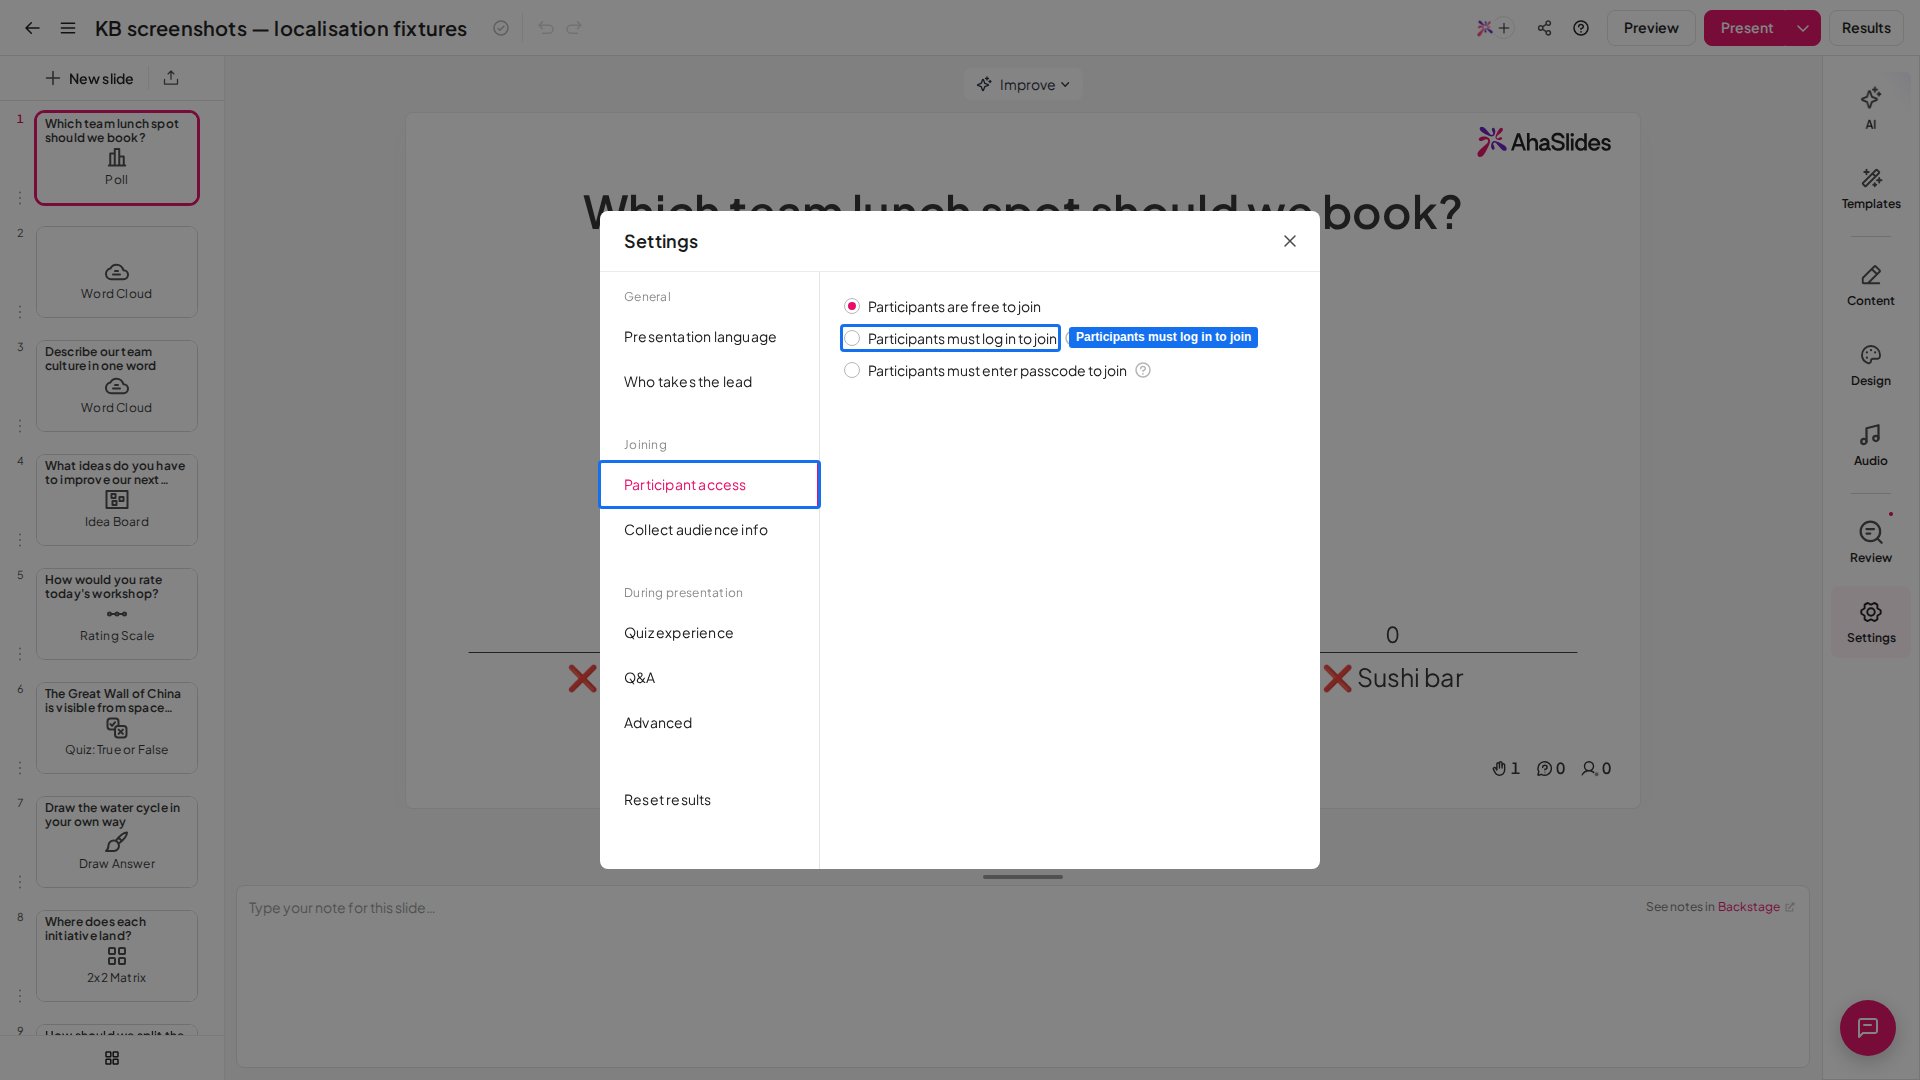
- If you want students to join directly — for example by scanning a QR code — rather than only through the Blackboard course link, turn on participant verification for the presentation so their answers can be matched back to their gradebook record.
Step 1: Register AhaSlides in Blackboard (administrator)
AhaSlides is a single pre-registered Blackboard application, so your administrator only needs one value from us: the AhaSlides Application (Client) ID. Ask your AhaSlides representative for it — Blackboard fills in the rest of the AhaSlides addresses automatically once it is entered.1
Open the LTI tool registration page
Go to Administrator Panel → Integrations → LTI Tool Providers → Register LTI 1.3 / Advantage Tool.
2
Enter the Application (Client) ID
Paste the Application (Client) ID supplied by your AhaSlides representative, then click Submit. Blackboard auto-fills the AhaSlides login, launch, and keyset addresses — you do not need to enter those by hand.
3
Approve the tool
Set Tool Status to Approved.
4
Enable the required institution policies
Under Institution Policies, enable Role in Course, Name, Email Address, Allow grade service access (Yes), and Allow Membership Service Access (Yes). These are required for one-click launch, roster matching, and grade sync.
5
Save the tool
Save the registration.
Step 2: Send your Deployment ID to AhaSlides
After registering the tool, copy the Deployment ID that Blackboard generates for AhaSlides and send it to your AhaSlides contact. The AhaSlides team uses it to finish connecting your Blackboard instance on our side. Once that’s confirmed, the integration is live for your instructors.Step 3: Add a presentation to a course (instructor)
1
Add the AhaSlides activity
In your Blackboard course, add an AhaSlides activity — the external tool your administrator registered.
2
Choose a presentation
The AhaSlides presentation picker opens. Choose the presentation you want to use.
3
Confirm
Blackboard creates the activity and a matching gradebook column for it.
If you don’t have any presentations yet, the picker shows an empty state with a link to create one in AhaSlides.
Step 4: Run the session and sync scores
1
Students join
Students join the live presentation either from inside Blackboard or directly in the audience app — see How students join below.
2
Present live
Run your presentation as usual.
3
Scores sync automatically
When the session ends, AhaSlides pushes each student’s quiz score into the Blackboard gradebook automatically — typically within about an hour.
4
Reuse the presentation
To run the same presentation again, open the activity and choose Reset Results to finalise the current grades first. See Resetting the results.
Scores are calculated as total points earned ÷ total points available across the quiz slides, then written to the gradebook column created for the activity. Only quiz slides are scored — poll and other non-scored slide types do not contribute to the gradebook value.
How students join the session
Students can take part two ways, and both keep their scores mapped to the right person in the gradebook:- From inside Blackboard (recommended). The student clicks the AhaSlides activity and the live session opens directly — name and email pre-filled, no room code or separate login. Identity matching is automatic.
- Directly in the audience app — for example by scanning a QR code. For scores to map back, the presentation must have participant verification turned on, and each student must sign in with the same email as their Blackboard account. That email is what links their AhaSlides answers to their gradebook record.