

Rename your presentation
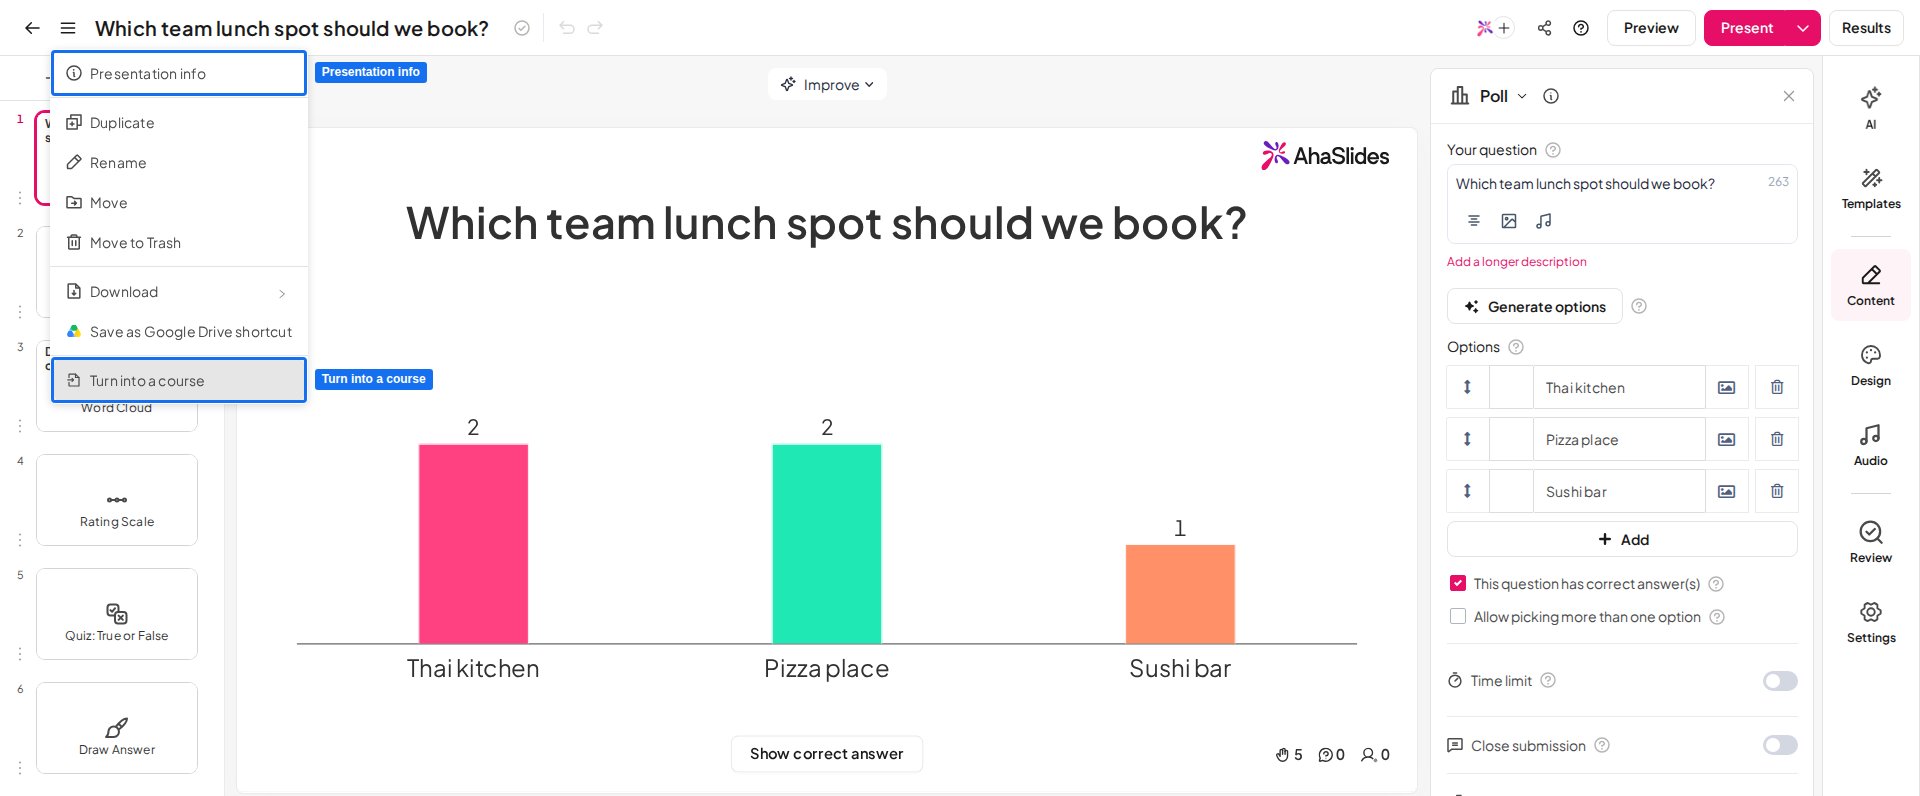
The presentation name isn’t part of the Presentation info window. To rename your presentation, click its name in the editor header and type the new name, or open the menu next to the name and choose Rename. A name can be up to 100 characters long.Edit the presentation description
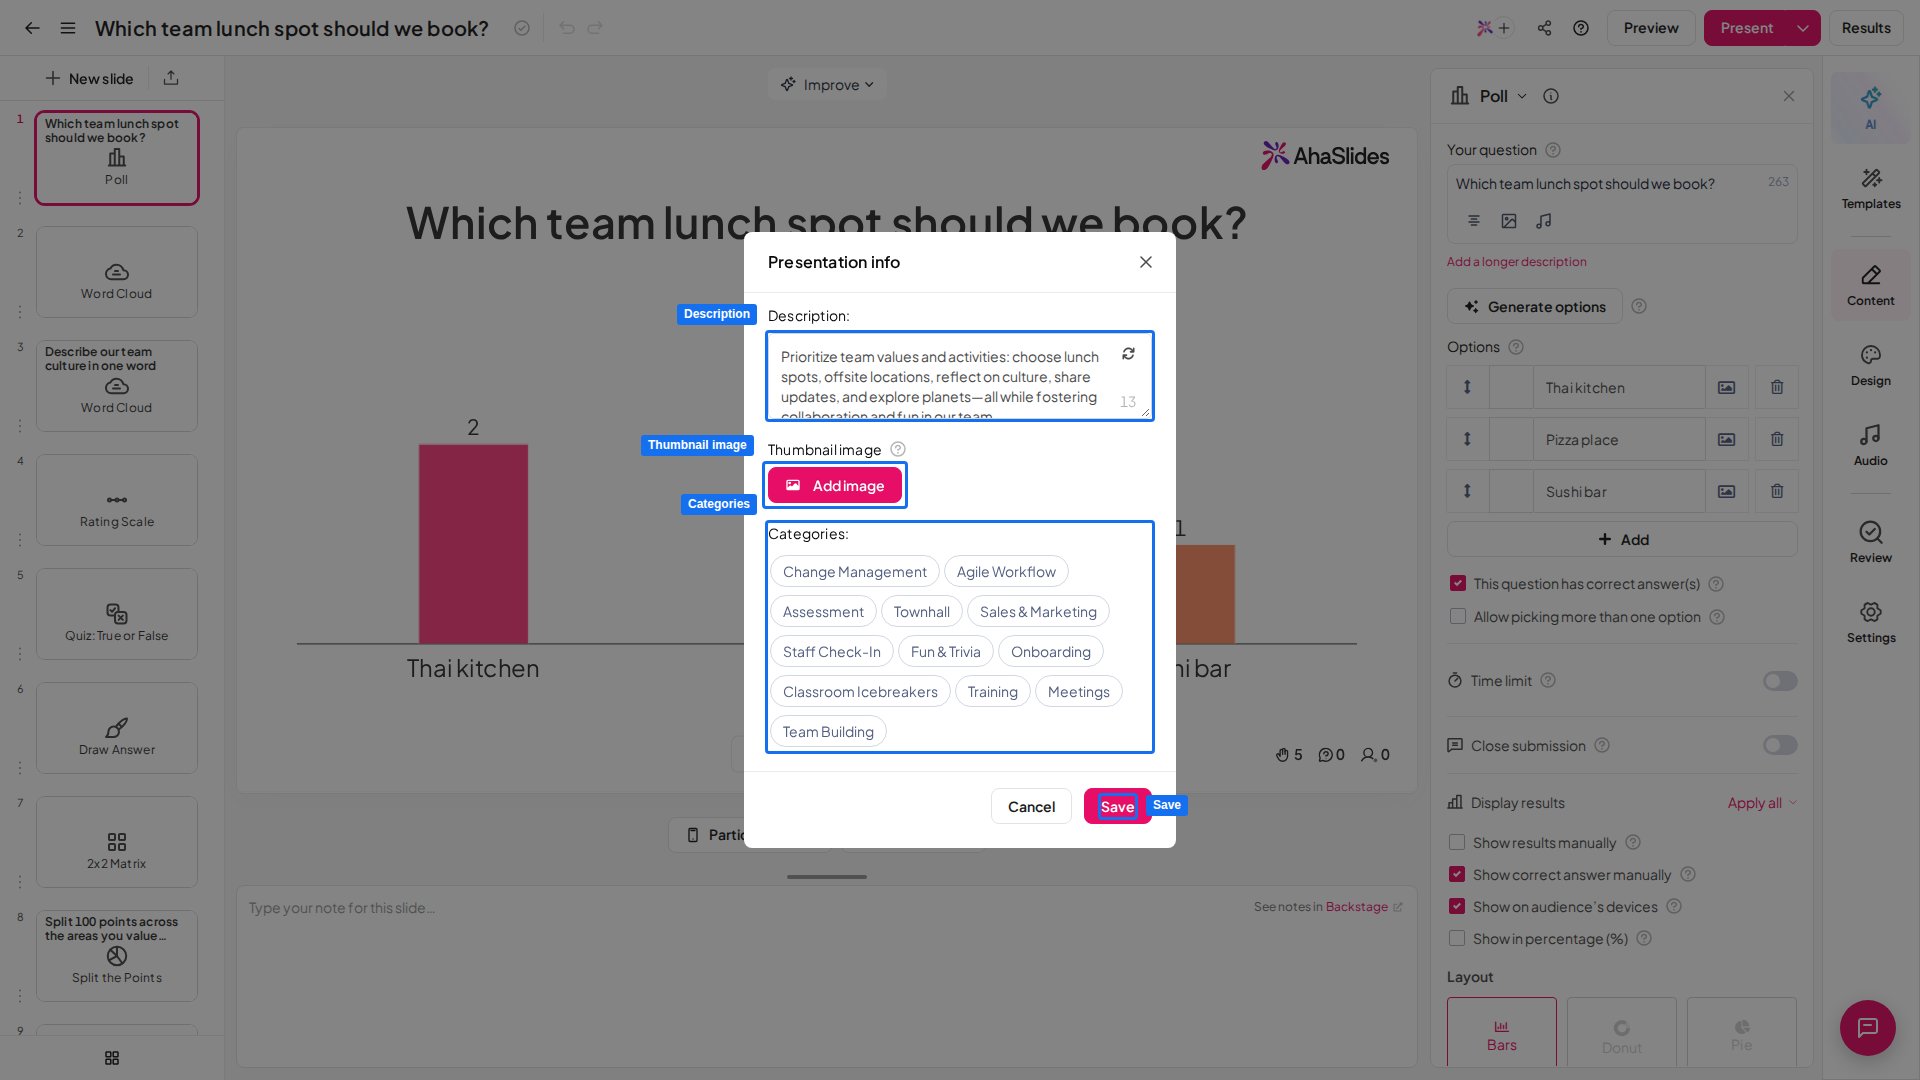
The Description field is a text area for a short summary of your presentation. It accepts up to 200 characters. The description appears alongside your thumbnail when you publish the presentation to the Template Library or share a copy with other users.Edit the presentation thumbnail image
The Thumbnail image is your presentation’s custom cover image. By default AhaSlides generates a thumbnail automatically, but you can upload your own instead.- In the Thumbnail image section, click Add image if no custom thumbnail is set yet. If one already exists, you will see the current image with Change image and Remove links instead.
- Upload or select your image, then crop it to the 16:9 frame.
- Click Save to apply the new thumbnail.
Edit presentation categories
The Categories field is a set of selectable category buttons used to categorise your presentation — for example, when you publish it to the Template Library. Select the buttons that best describe your presentation, then click Save.Frequently asked questions
How do I open the Presentation info window?
How do I open the Presentation info window?
Open the presentation in the editor, click the menu icon next to the presentation name in the editor header, then choose Presentation info.
How do I rename my presentation?
How do I rename my presentation?
Click the presentation name in the editor header and type the new name (up to 100 characters), or choose Rename from the menu next to the name.
How do I add a description to my presentation?
How do I add a description to my presentation?
Open Presentation info and type into the Description field (up to 200 characters), then click Save. The description appears alongside your thumbnail when you publish the presentation to the Template Library or share a copy with others.
How do I change my presentation thumbnail?
How do I change my presentation thumbnail?
Open Presentation info, and in the Thumbnail image section click Add image (or Change image if one already exists). Upload your image, crop it to 16:9, and click Save. To go back to the automatic cover, click Remove.
What are Categories for?
What are Categories for?
Categories are selectable buttons that describe your presentation. They are used to categorise it — for example, when you publish it to the Template Library.
Do I need to save my slides, or are my edits saved automatically?
Do I need to save my slides, or are my edits saved automatically?
Your slides and their content are saved automatically as you work — there is no manual save for the slides themselves, and your presentation stays in your My Presentations dashboard. The Save button described above applies only to the Presentation info fields (Description, Thumbnail image, and Categories).