

Interactive Image at a glance
How to run Interactive Image
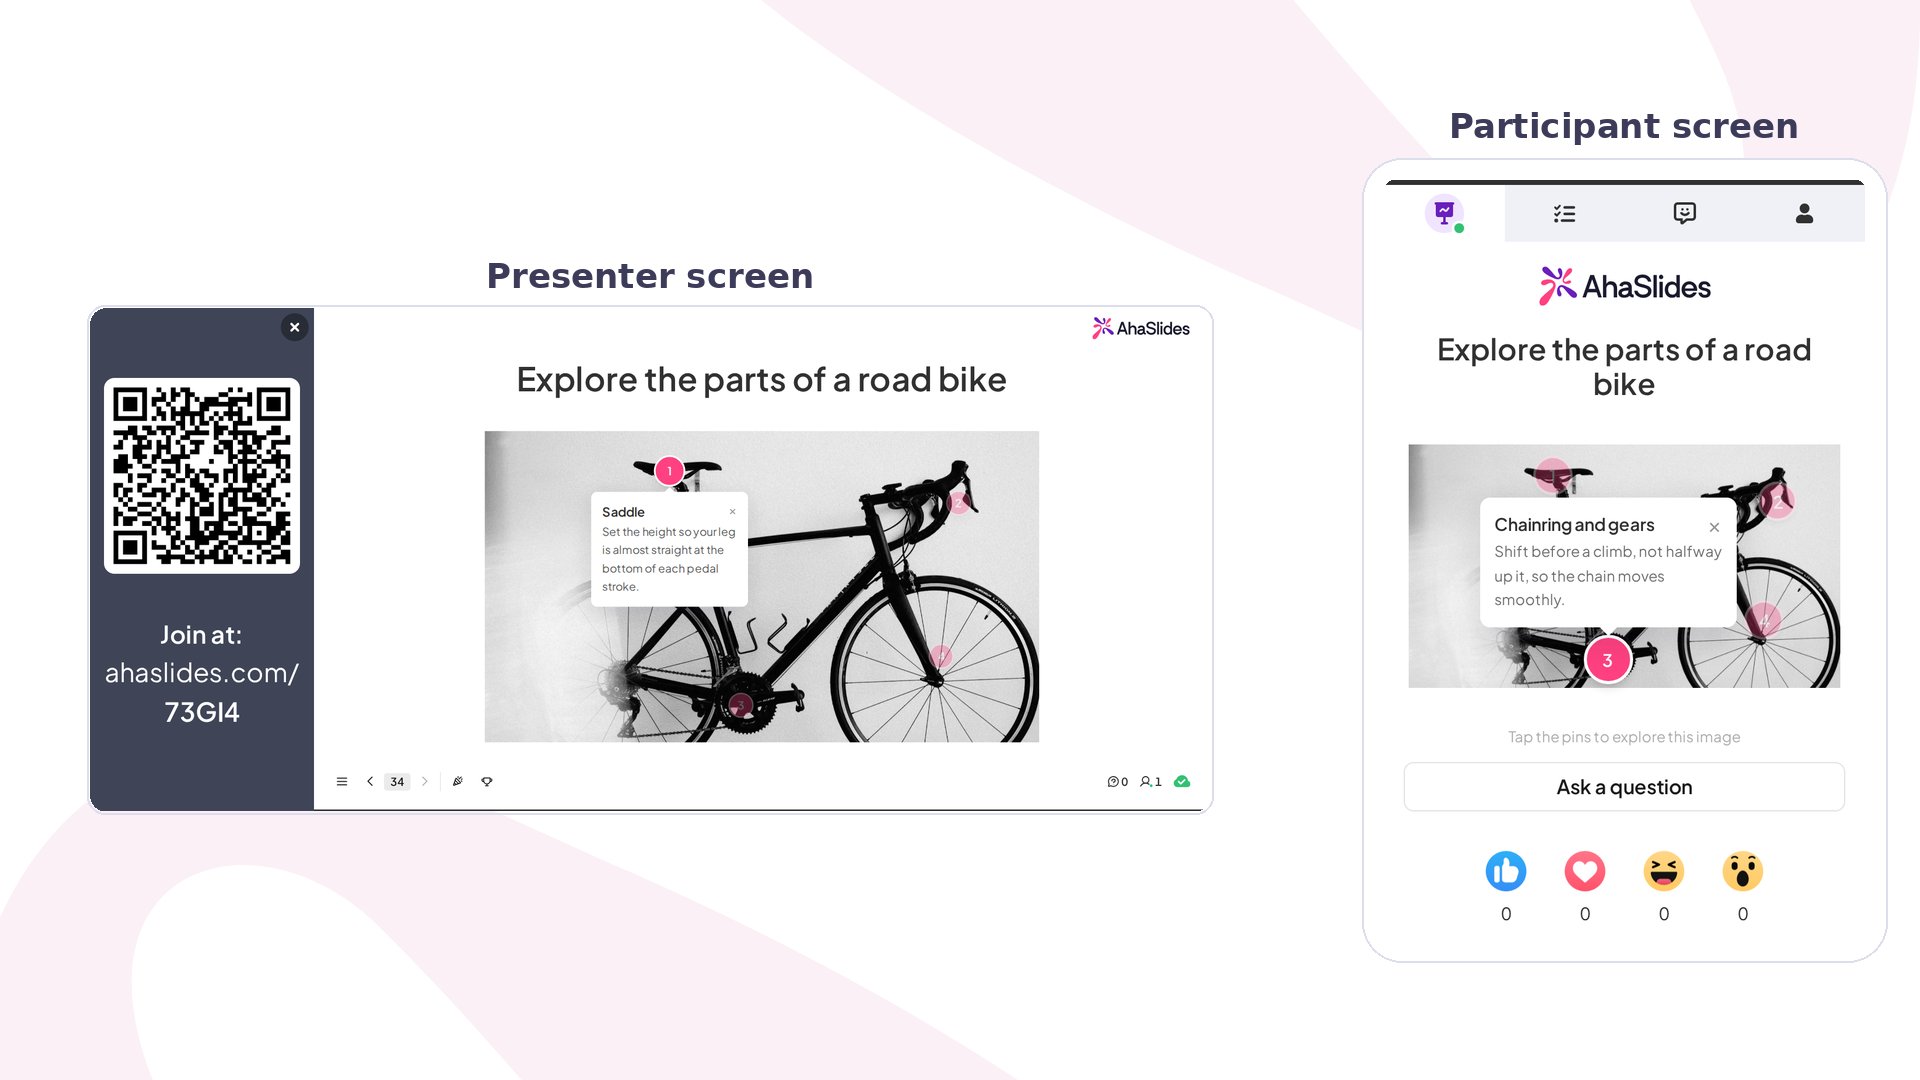
Place up to eight hotspots on an uploaded image. Each holds a short note — a heading and a line or two — and the markers are numbered, so you can set the order the eye should follow. When you present, every participant sees the full image on their phone and taps any marker to open its note, in any order and as often as they like. Visited hotspots look different from unvisited ones, and people can pinch to zoom on a busy image.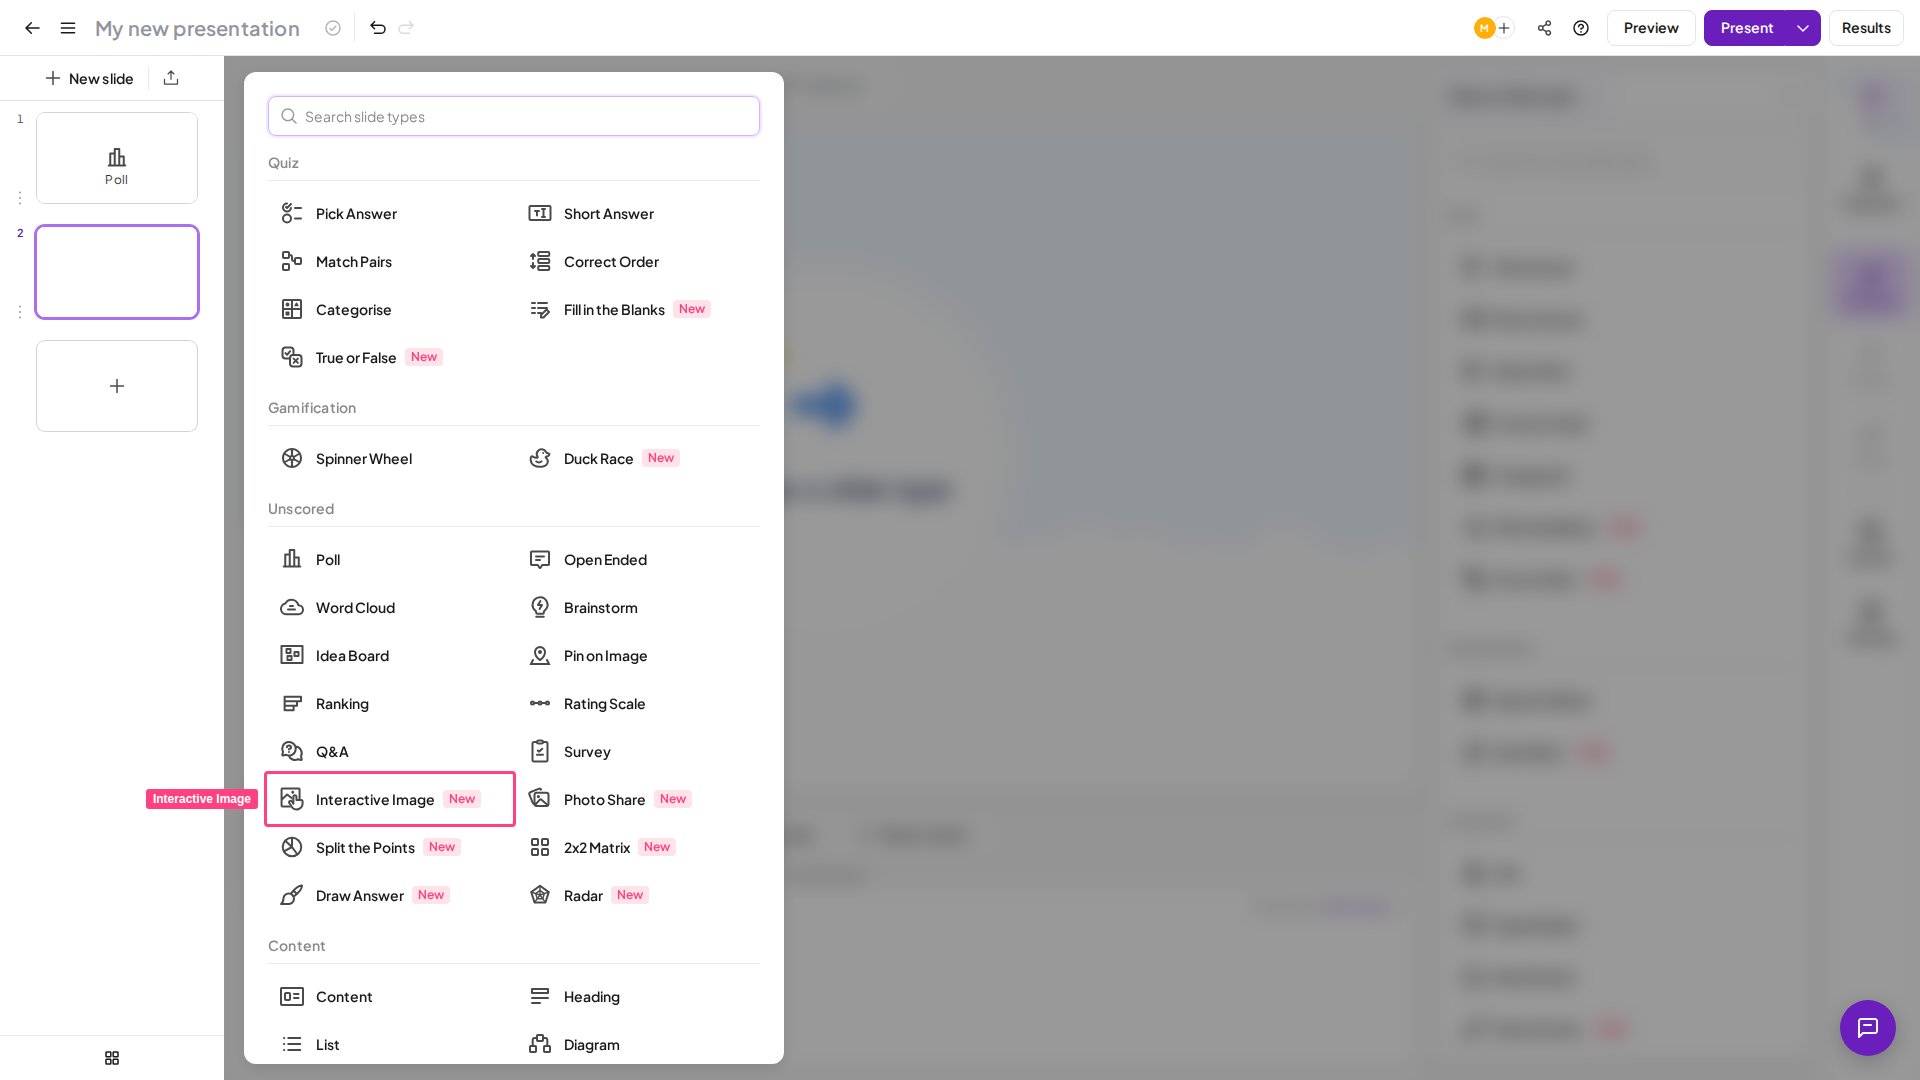
1
Add the slide
In the editor, click New slide and pick Interactive Image from the slide type picker.
2
Upload your image
Add one image — a diagram, map, product screenshot, or photo. It fills the slide, so pick something worth exploring.
3
Drop your hotspots
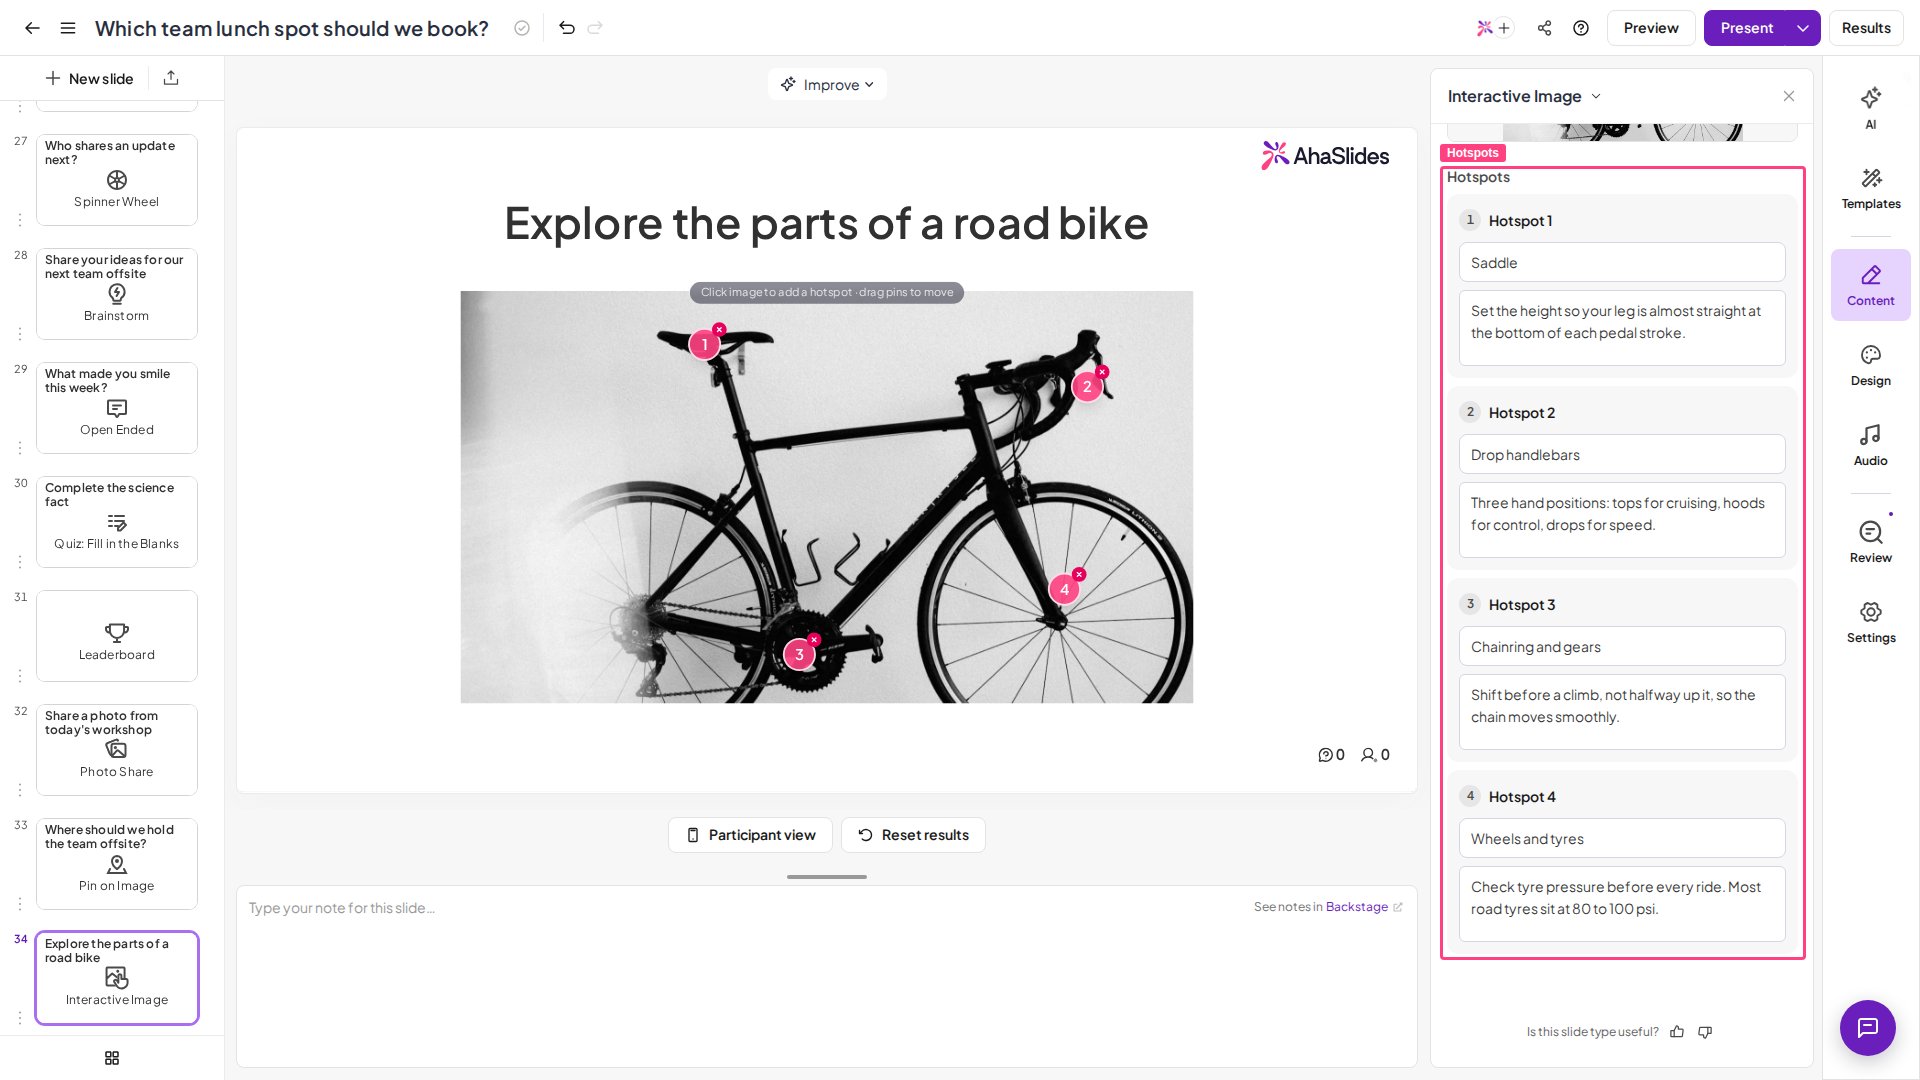
Click anywhere on the image to add a hotspot, up to eight. Drag a marker to reposition it, or delete one to free a slot.
4
Write each note
Give each hotspot a heading (up to 40 characters) and a note (up to 150 characters). Keep every note self-contained, since people read them in any order.
5
Order the markers
Reorder the hotspots so the numbers trace the path you want across the image.
Preview and present
Click Preview in the top header to check the presenter and participant views first. When you present, the image fills the main screen with markers readable from the back of the room. Opening a note on the big screen doesn’t control anyone’s phone — everyone keeps reading at their own speed.Ideas for using Interactive Image
Interactive Image fits any moment where a picture carries the detail and you want the room to explore it, not vote on it.Education
- Diagrams and anatomy — label the parts of a system and let students tap each one to read how it works.
- Maps and timelines — pin context to places or dates for self-paced study.
Training and workshops
- Process walkthroughs — mark each step of a workflow or safety layout on a single image.
- Product tours — annotate a screenshot so trainees explore the interface at their own pace.
Meetings and events
- Org charts or floor plans — let people tap around to find what’s relevant to them.
- Rich visuals — turn a dense infographic into something the room can read on their own devices.