

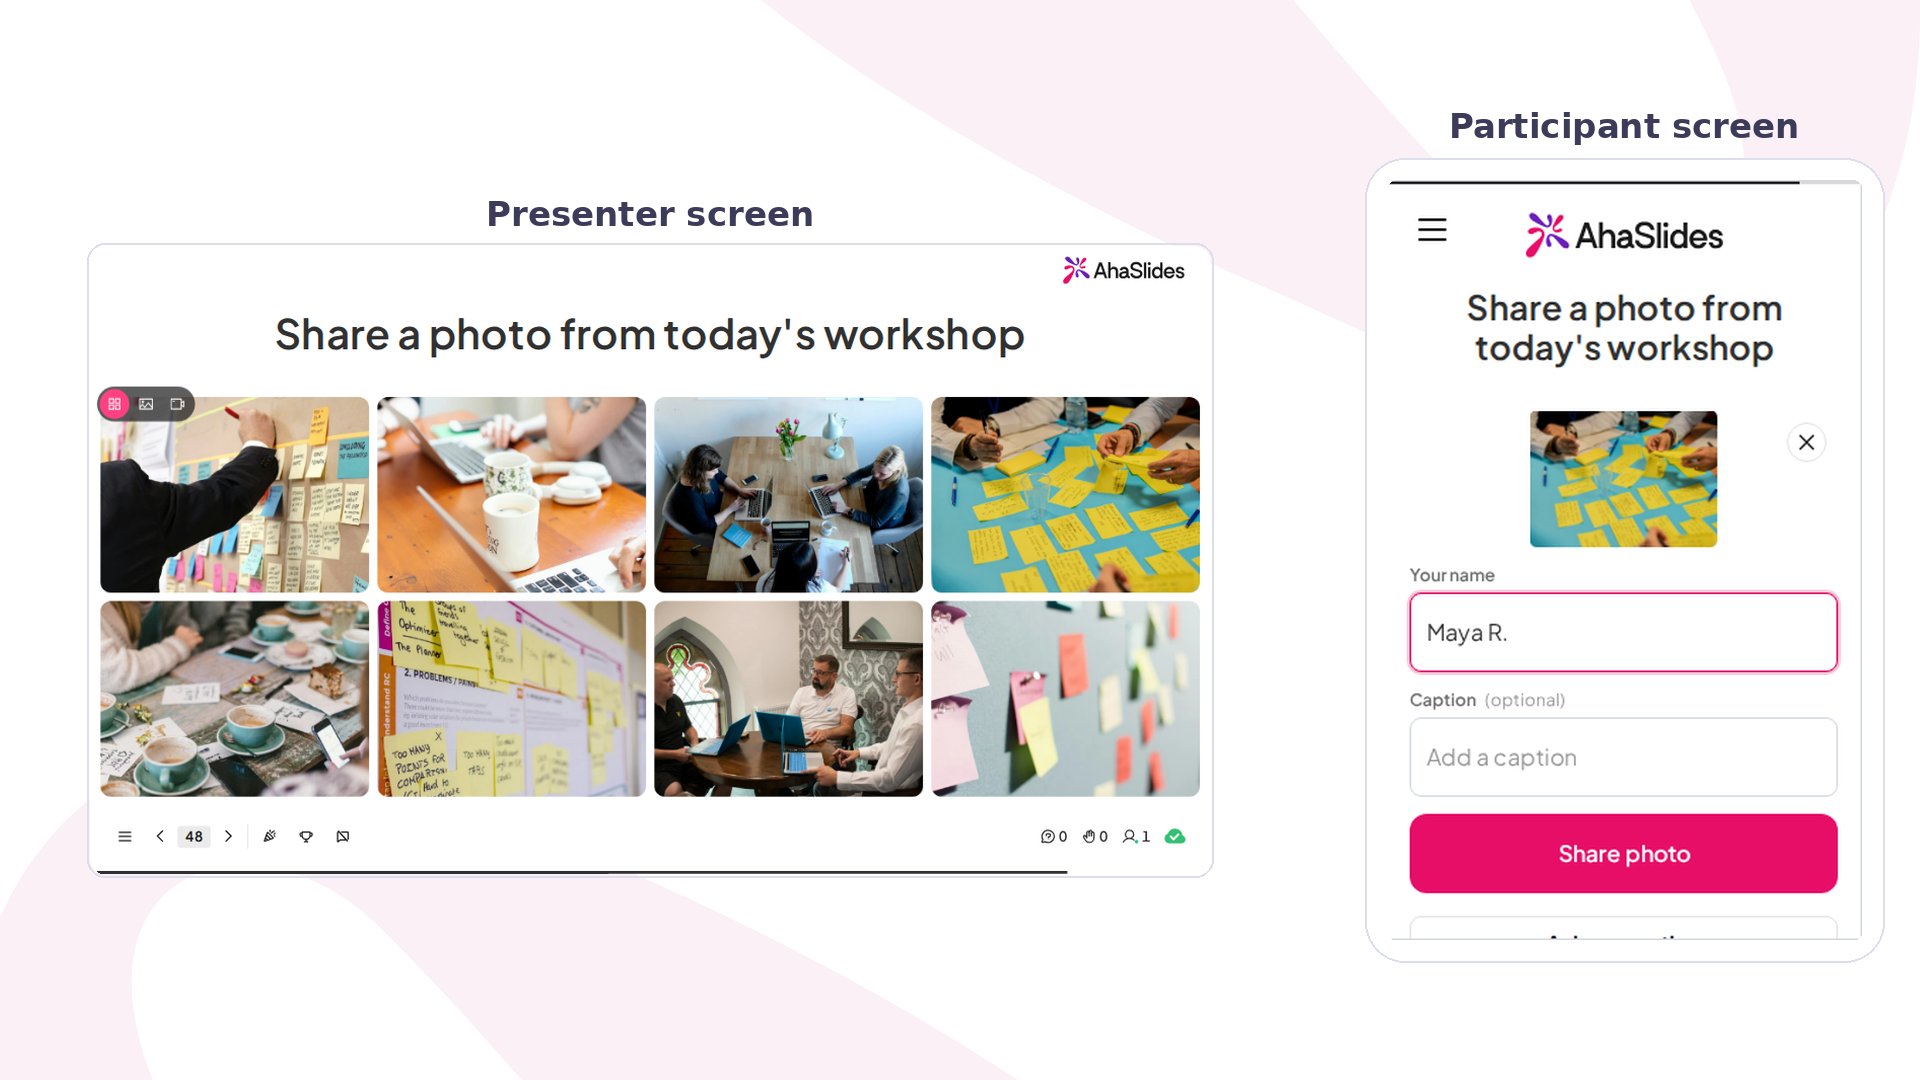
Photo Share at a glance
Participants join the usual way, with the join code or QR code, and need no app or login.
Create a Photo Share slide
You can also add your own photos ahead of time from the editor — they play in the same slideshow as your audience’s, so you can seed the wall before the room joins or run a slide entirely from photos you supply. As you set the slide up, the editor canvas previews the shape of your chosen display mode before any photo arrives, so you can compare the modes without a live submission.1
Add the slide
In the editor, click New slide and choose Photo Share from the Poll tab of the slide type picker.
2
Write your prompt
Give the slide a title — the prompt your audience answers with a photo. An optional description adds any extra instruction.
3
Choose a display mode
Pick how photos appear on screen under Display mode — Tiled wall, Carousel, or Ken Burns (see Photo Share display modes). The editor canvas previews the shape of the mode you pick before any photo arrives, so you can compare them as you go.
4
Add your own photos (optional)
Under Your photos, use Add a photo to upload your own — click to add one, or drop several files at once (PNG, JPG, GIF, or WebP). They join the same slideshow as your audience’s uploads. Manage what you have added in the Added photos strip below: reorder the photos by dragging (the order is the play order) or remove any with the ✕.
5
Turn on captions and names
Optionally let participants add a caption under their photo, and show each uploader’s name beside it.
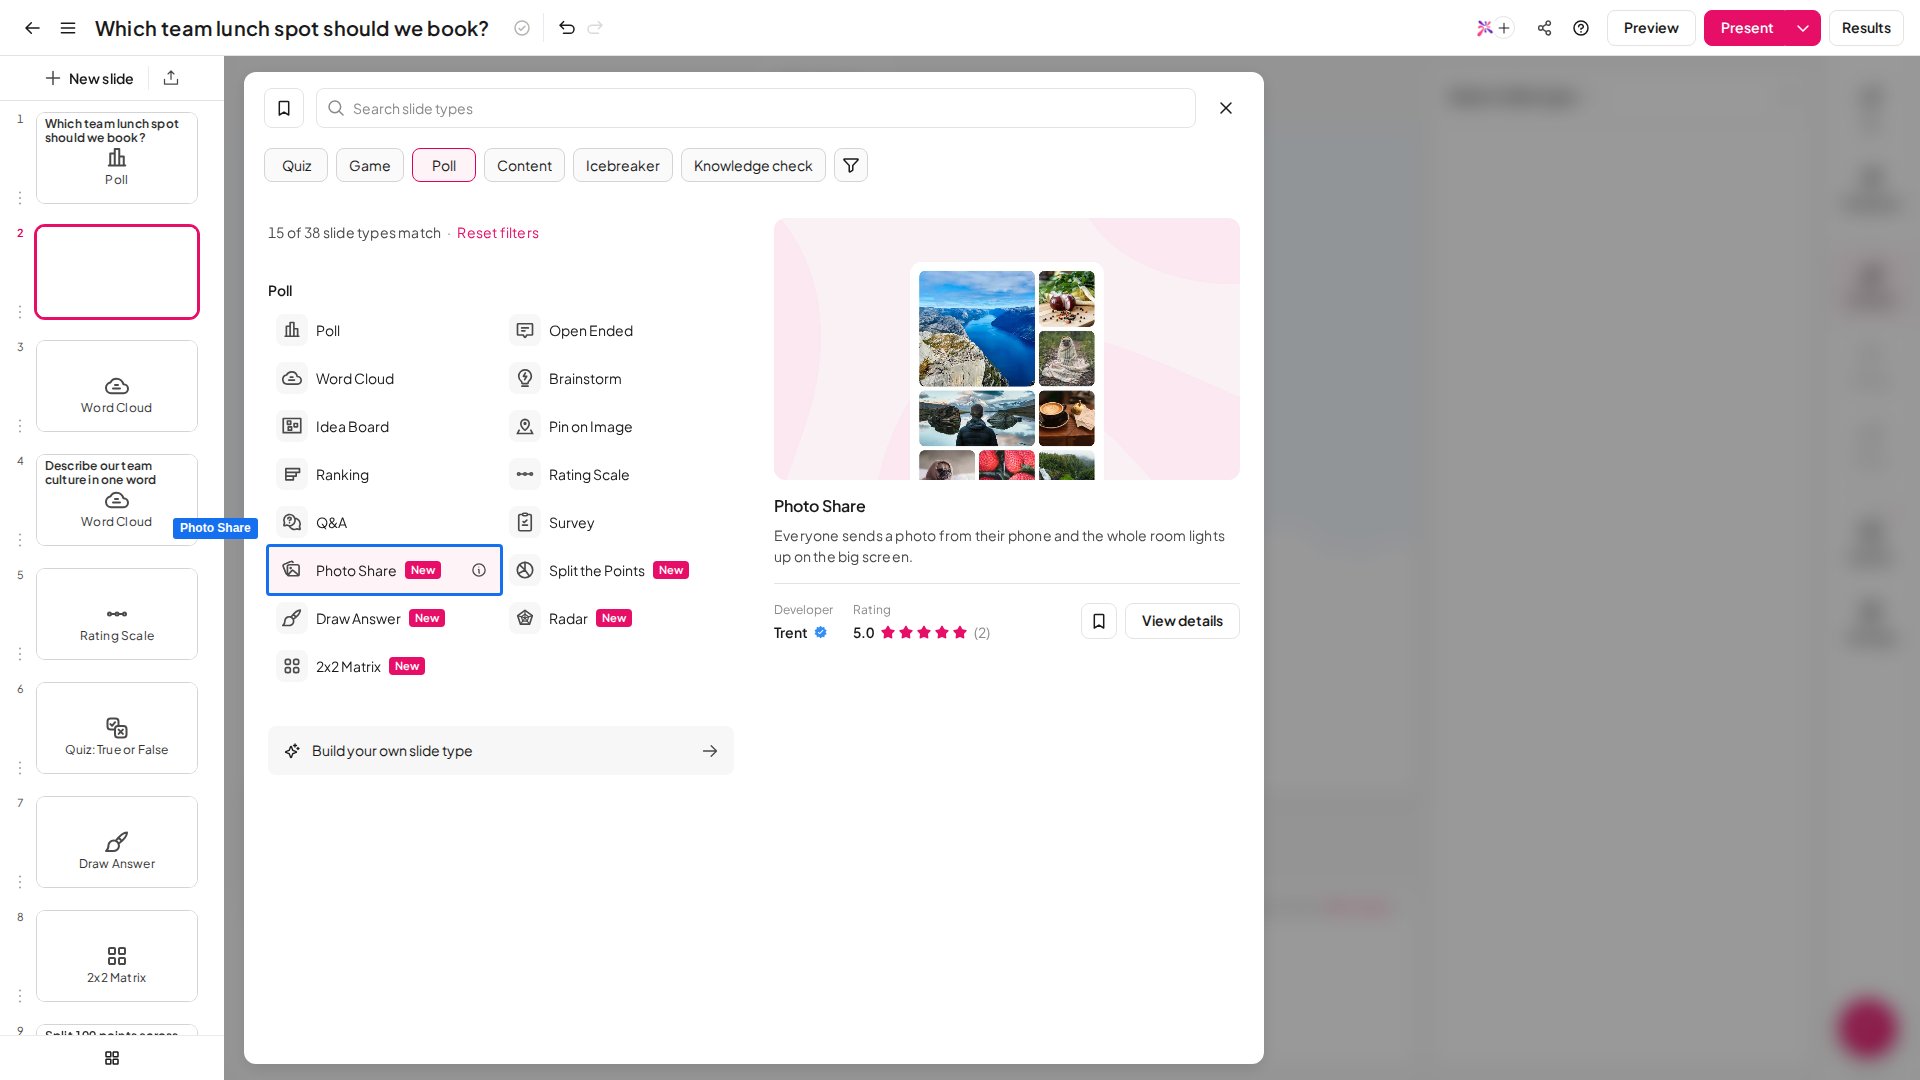
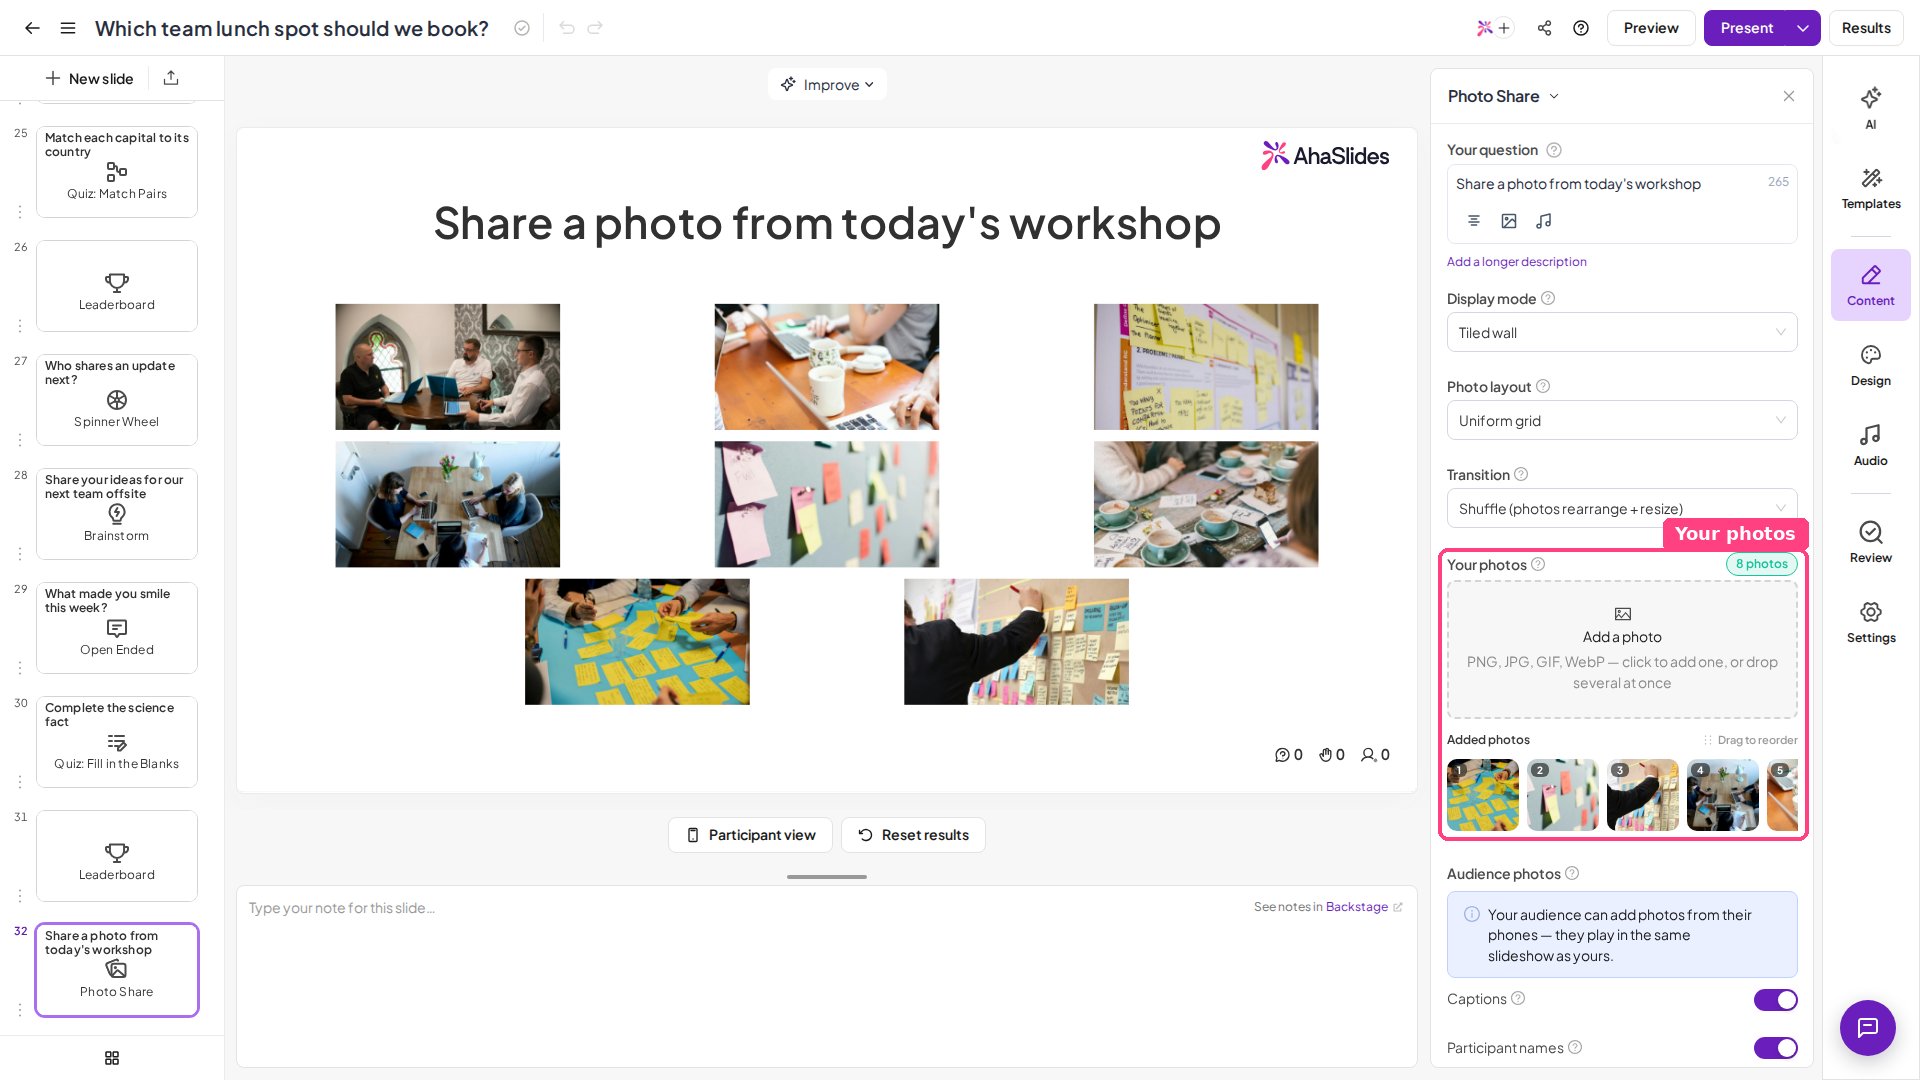
Photo Share display modes
Display mode sets the rhythm of the wall. There are three:Tiled wall
Every photo stays on screen at once, and new arrivals pop in as they land — the classic live photo wall. Two extra controls shape it:- Photo layout — how the tiles are arranged: Uniform grid, Mosaic (featured tiles), Masonry columns, or Polaroid collage. In Mosaic, AhaSlides picks which photos get the bigger tiles, and each photo keeps its size as new ones arrive.
- Transition — how the wall keeps moving between arrivals: Shuffle, Drift, Spotlight, Cascade wave, Flip, Zigzag, Tornado, Orbit, or Reveal one by one.
Carousel
Shows one photo at a time and auto-advances, with a choice of Transition between photos: Zoom blur, Flip, Cube, Swirl, Slide across, Slide up, Fade, or a hard cut. Set Seconds per photo to control the pace.Ken Burns
Shows one photo at a time with a slow, cinematic pan-and-zoom across each image. Set Seconds per photo to control how long each one holds. In Carousel and Ken Burns you can also step through photos yourself while presenting: click the arrows on the photo or the dots below it, or click into the slide and press the left and right arrow keys. Stepping by hand restarts the countdown, so the show keeps advancing on its own afterwards. In any mode, click a photo to open it full screen.Present a Photo Share slide
You give the slide a title — a prompt like “Share a photo of your desk” — and turn on audience joining. Every participant gets an upload screen on their phone where they take or choose a photo, add an optional caption, and tap Share photo. Photos stream onto the presenter screen live, and you choose how they are shown: a Tiled wall where every photo is visible at once, a Carousel that shows one photo at a time, or a Ken Burns show that pans and zooms slowly across each photo. If you leave audience submissions open, people can keep adding photos throughout. Click Preview in the top header to check the presenter and participant views first. When you present, photos appear on the big screen as your audience shares them. To take a photo off the wall, hover over it and click Remove. Keep submissions open to let the wall keep growing, or close them once the room has shared enough. After the session, you can download every photo the audience shared: open the presentation report, open the session from the Sessions tab, go to that session’s Slides tab, find the Photo Share slide, and click Download photos. A slide with a lot of photos can take a while to download, so give it a moment.Ideas for using Photo Share
Photo Share fits any moment where a shared visual brings the room together.Events and socials
- Live event wall — collect photos from a party, conference, or meet-up and run them as a Tiled wall on the main screen.
- Icebreakers — “show us your view right now” or “your pet” warms up a room in seconds.
Meetings and workplace
- Team check-ins — a photo of everyone’s desk, lunch, or workspace for a remote or hybrid team.
- Celebrations — gather snapshots from a project, trip, or milestone into one Ken Burns reel.
Education
- Field or project work — students submit a photo of their result, experiment, or sketch to a shared wall.
- Show and tell — a fast, visual way for a class to contribute at once.